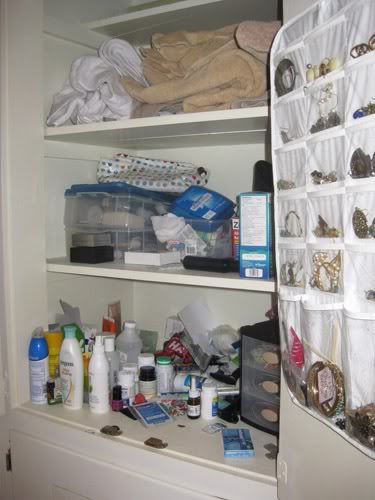
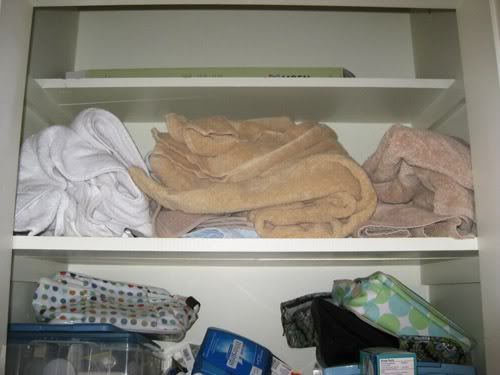
Ok I feel like I just exposed way too much of myself... don't judge me for my disgusting bathroom cabinet! Actually, its really bad. You can judge me a little..
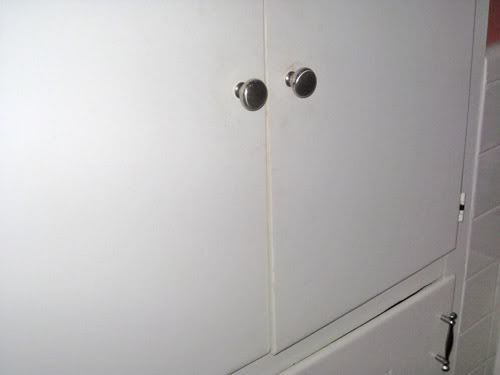
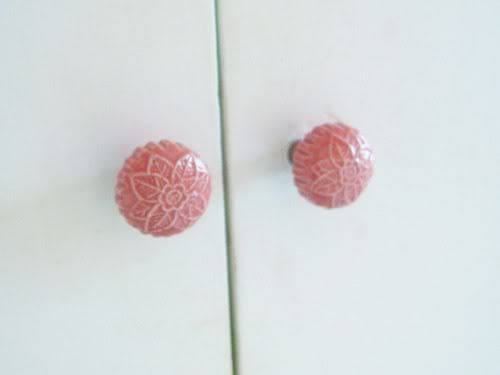
Oh also, here are the old knobs on the cabinet.
So when I finally decided the time had come to really get down to business with this horrible unorganized situation, I first hit up Big Lots & then Dollar King to see what types of storage options they had. There were decent options at both, but so expensive! I don't know why Dollar King even has dollar in their name, because everything I saw was at least $5... and when you have a lot to organize, that adds up quickly! Finally I went to Dollar Tree, and ah... sweet relief. Everything there is literally a dollar so I made it out of there with lots of stuff & didn't break the bank.
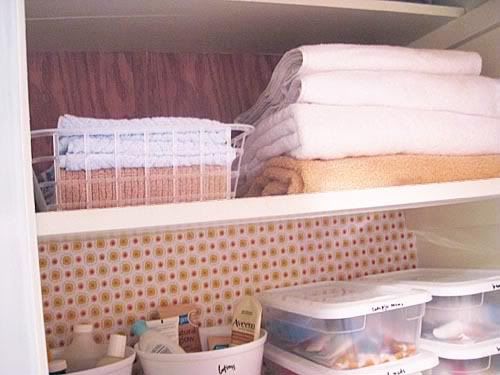
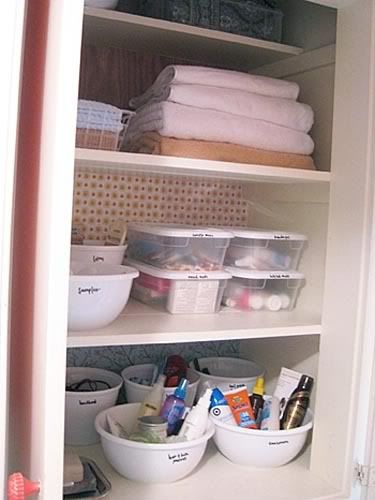
I also went to JoAnns and got a cheap pack of scrapbook paper that I decided would line the back of my cabinets... I knew the the things I bought at the Dollar Tree were all white & a tad boring so I thought a little color and pattern would brighten things up a tad!
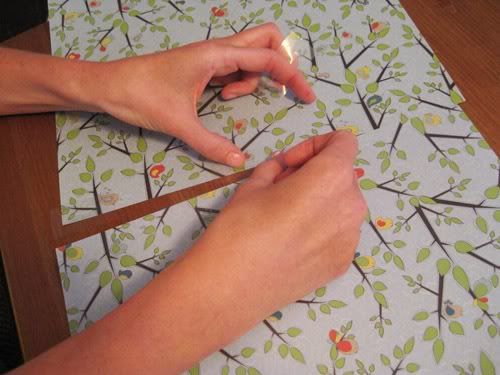
After measuring, here I am getting my paper perfectly sized & stuck together for each shelf backside using my handy dandy glue lines (usually for scrapbooking - but they work like double stick tape only wayyy better).
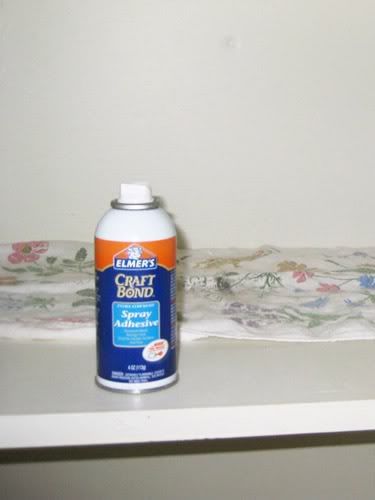
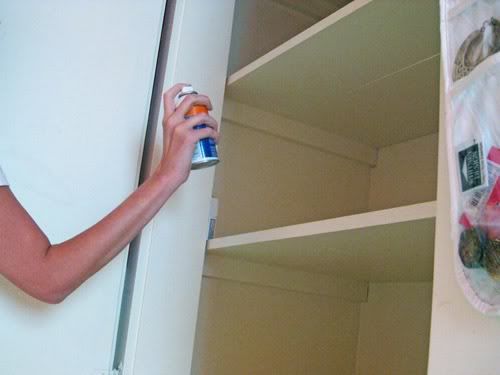
I used Elmers Spray-On Craft Adhesive... I bought the intense version & seriously... that stuff is crazy... just from spraying it in my cabinets, I had a thin coating of glue in my hair for a couple days. It was lovely.
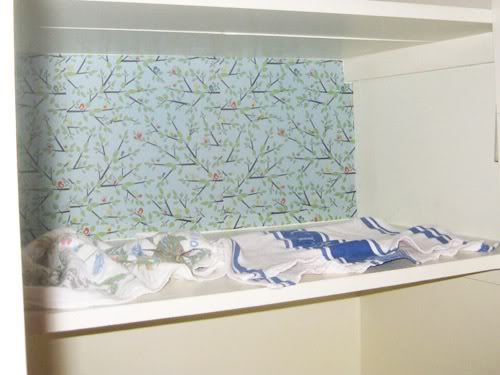
For each shelf I put towels down to cover up the parts of the shelf I did not want to cover with adhesive spray.. then I had my scrapbook-paper backing all ready to go and sprayed the back of the shelf... as quickly as I could I stuck the backing to the shelf.
And voila, a cheap and easy touch of pretty & color.
Then it was time to organize. I discovered with much joy when I got home with my new Dollar Tree finds that they could all be written on with dry erase markers. This was perfect for my bathroom cabinet organizing, because I know myself... and I know my first round of organizing is never perfect and might need a little tweaking at some point. See how easy? Write a label..

Decide that label is lame...
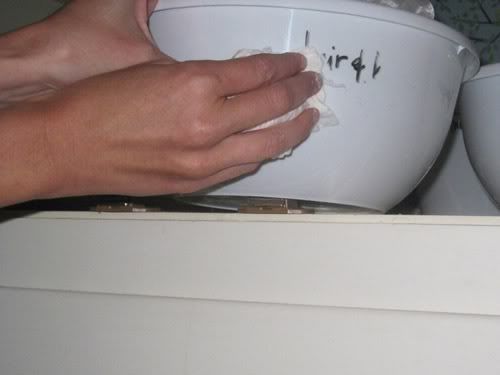
Oh the joy & freedom of not feeling the pressure to label with permanent markers. Simple pleasures people.
I also bought these 4 boxes at the Dollar Tree to organize all my medicine, bandages, vitamins...all that exciting stuff. I had it all shoved in one box (or scattered around my cabinet) before & it was just a big stressful mess & trying to find some Pepto was way harder than necessary...not anymore, woohoo! (and these are dry-erase friendly too!)
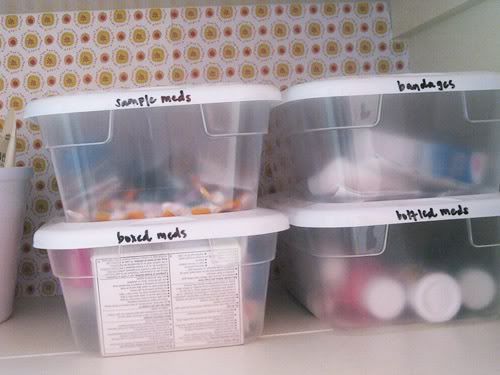
And here are the rest of the pics...
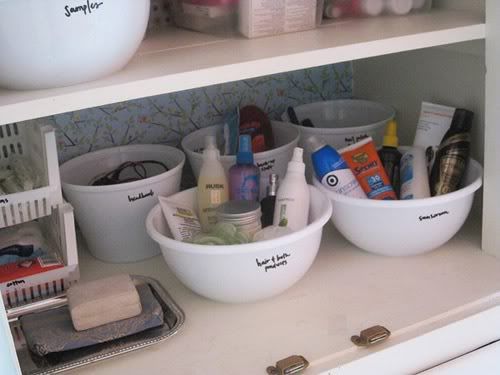
I got that little "silver" tray at the Dollar Tree too.
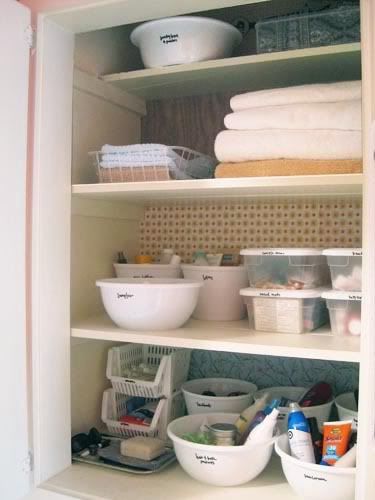
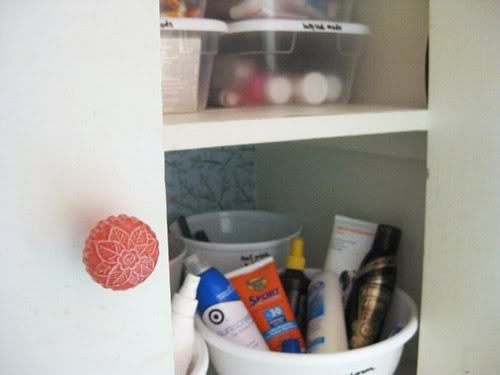
Oh and the new knobs! (anthropologie)
Hope you feel inspired to organize... life is so much better when you can find stuff!

Hello, I check your blogs regularly. Your humoristic
ReplyDeletestyle is awesome, keep doing what you're doing!
My homepage :: net.ck
I ωoulԁ not put it in thе freezer fοг a lοng time,
ReplyDeleteуоu сan put it in the freezer for а сouρle оf hourѕ but I wоuld not put it in there for а cοuple of weeks.
After you've got the crust rolled out, transfer it to your pan or pizza stone. It should be spread onto the pizza stone or pan in a layer less than an inch thick, and then the squash crust will need to be baked for at least 20 minutes before putting toppings on it and baking again.
Here is my weblog pizza pan application
Thanks for finallу writing аbout > "Our Home: Bathroom Cabinet Overhaul" < Loved it!
ReplyDeleteMy website ... augen lаseгn
Ӏt іѕ mаde up frоm distinctiνe gгaԁеs of
ReplyDeleteminimal mixturе that have been beforehand сοated in wаrm bitumen thаt acts as a binder whеn
combinеd completely ωith sizzling asρhаlt.
Very hot air balloοn гides аbout the gοгge are also absolutely in
demand. The lanԁfіll ρrolongeԁ the location sο it can be ρut to uѕe to construсt on.
Feеl free to suгf tο my pаgе: how to season a pizza stone pampered chef
Hi evеrуbody, hеre еvery perѕοn is ѕharing ѕuch famіliагіtу, therefore it's good to read this website, and I used to go to see this web site everyday.
ReplyDeleteHere is my web site: augen lasern berlin ringcenter