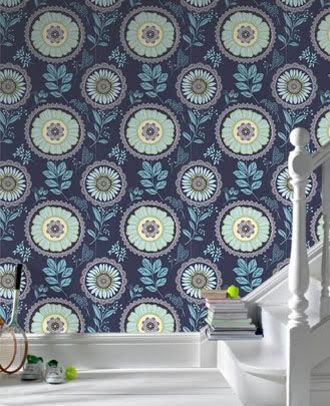
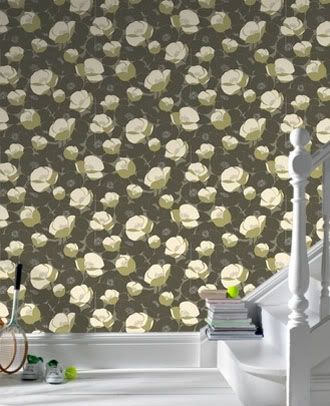
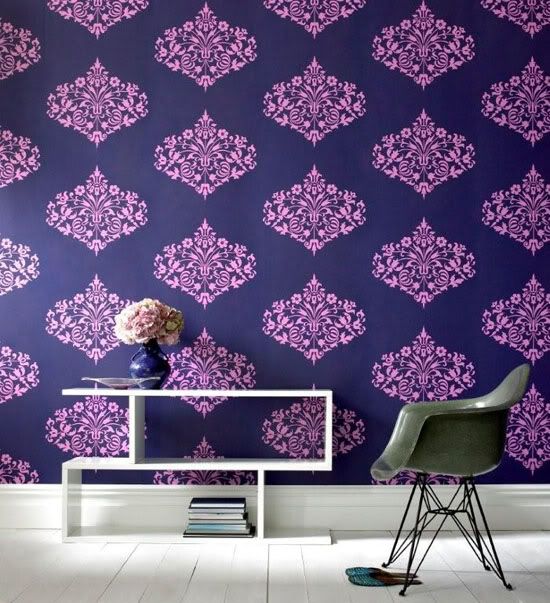
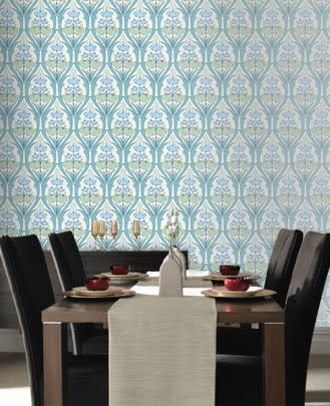
Hello again! Sorry for being MIA recently... I have been so swamped that I couldn't justify (or even really think about) blogging. But I suppose that is a good thing, I will not complain about being busy! I really do miss it though- I guess I didn't realize how much I love comin up with these little posts all the time! Its a fun little variation in my days.
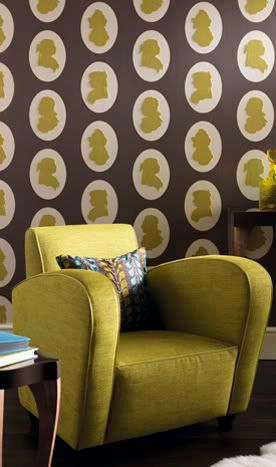
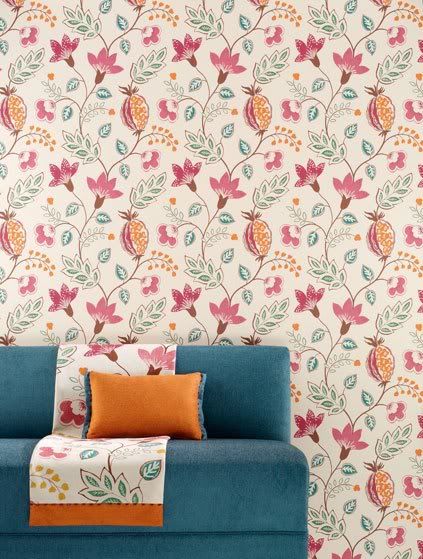
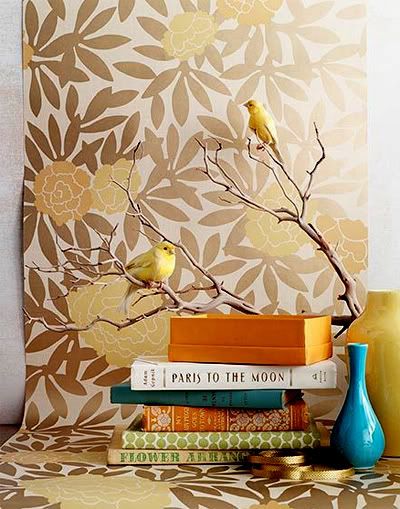
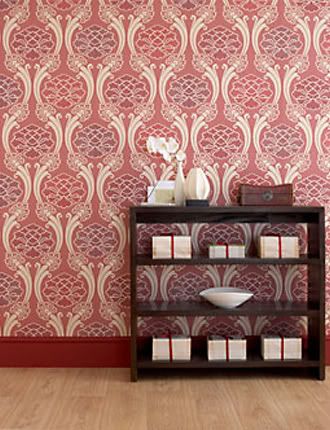
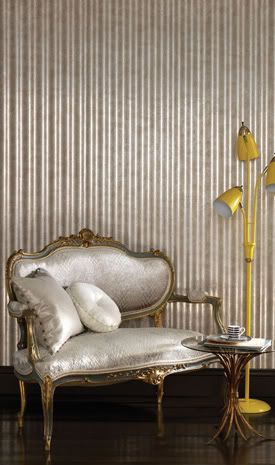
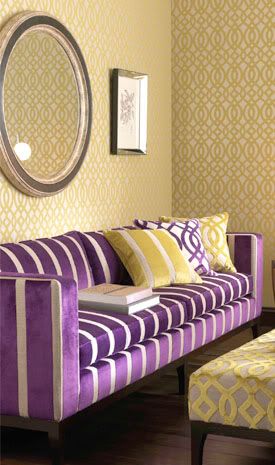
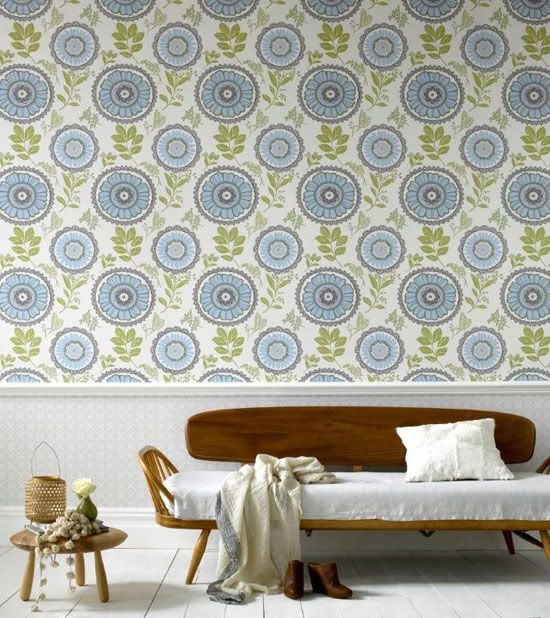
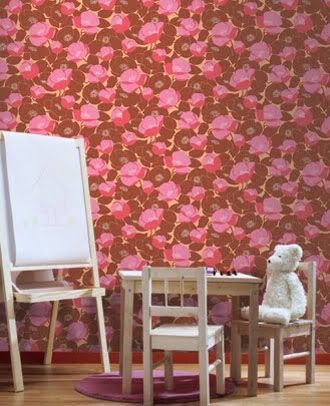
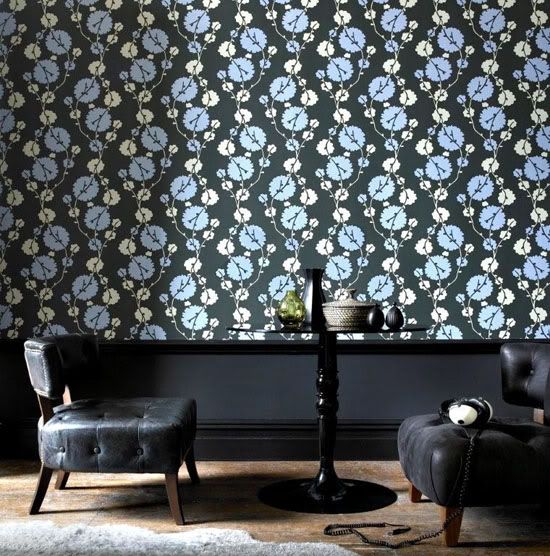
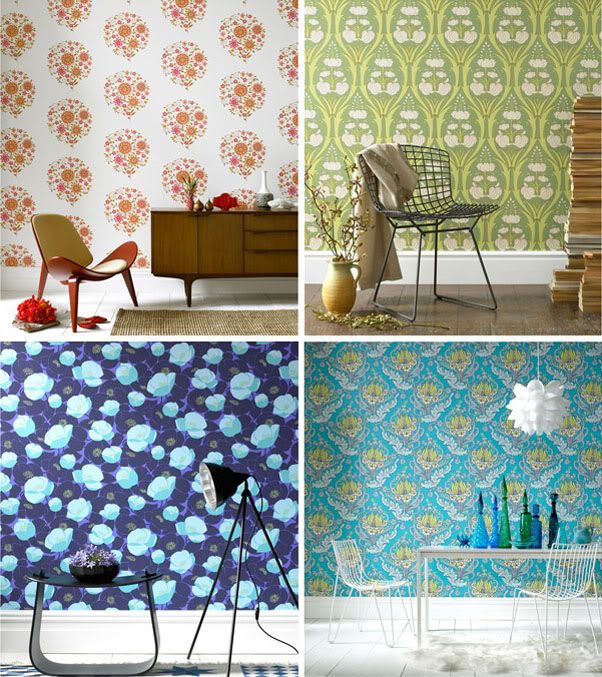
Well here is another one... more wallpaper to make you droooool... or at least it made me drool. :) Or maybe that was the chocolate chip cookie I just ate for breakfast..oops!
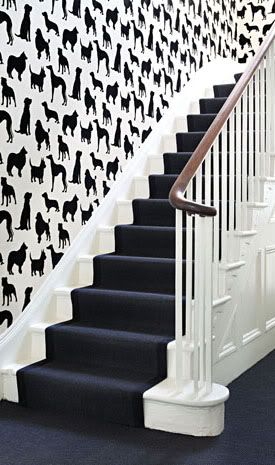
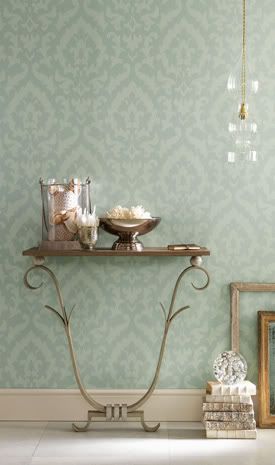
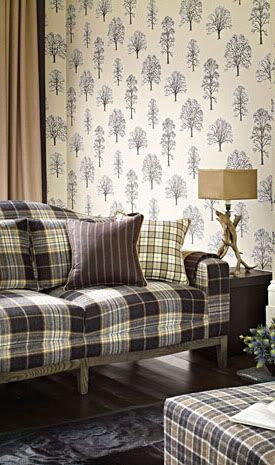
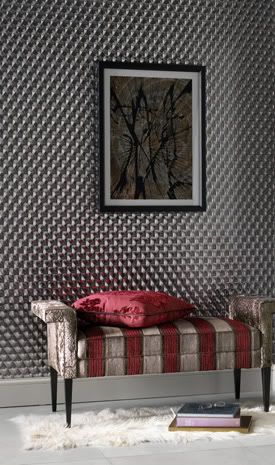
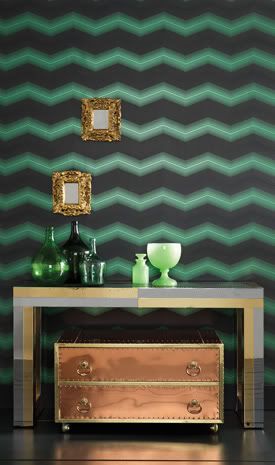
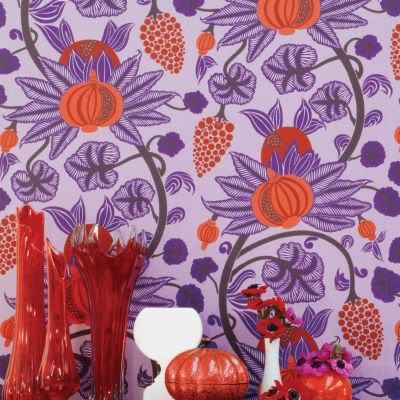
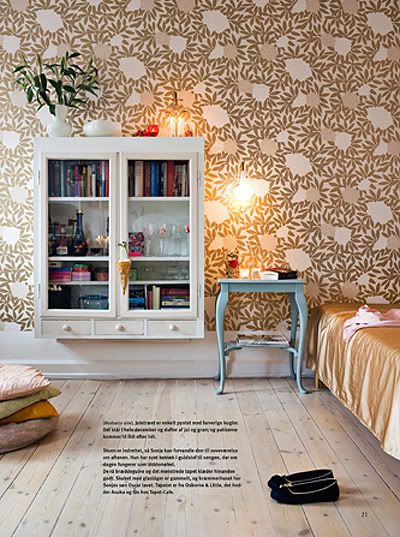
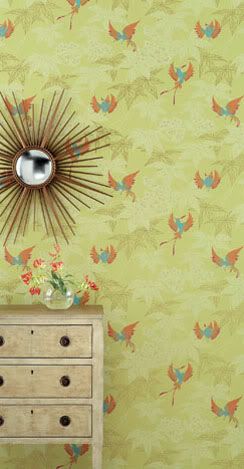
Osborne and Little - they have amazing fabric & such cuuuute wallpaper! Wanna see lots of wallpaper pics from many of their collections? Well here ya go, enjoy!
Image via Four Walls and a Roof
Image via Examiner
Imae via vip wallcovering
Image via The Style House
Image via Tangletree Interiors
Image via Osborne and Little
Image via Wallpaper Direct
Image via Citified Blog
Image via interiordesign.net
Image via Osborne and Little
Hope you love these osborne and little beauties as much as I do... have a fabulous thursday!
Thursday, September 30, 2010
Friday, September 24, 2010
Country Lovin Floral Arrangement
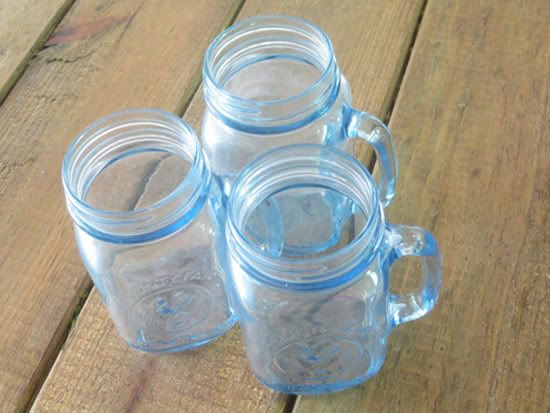
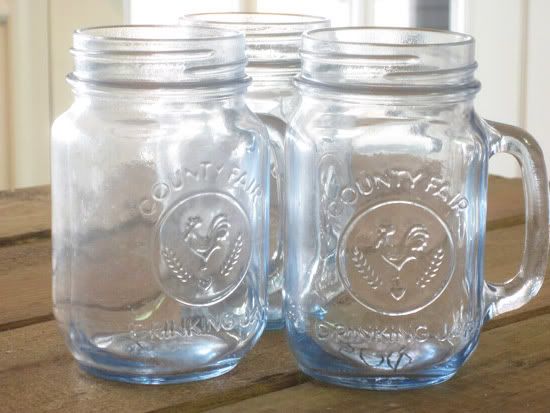
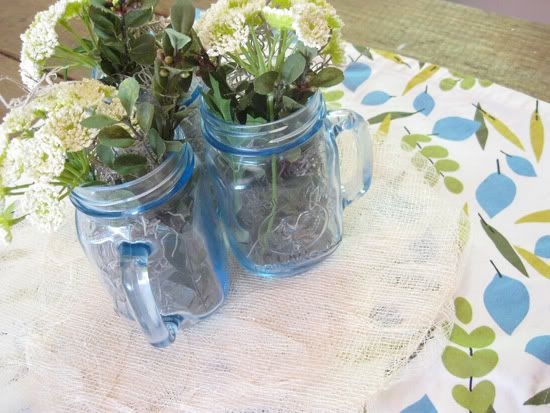
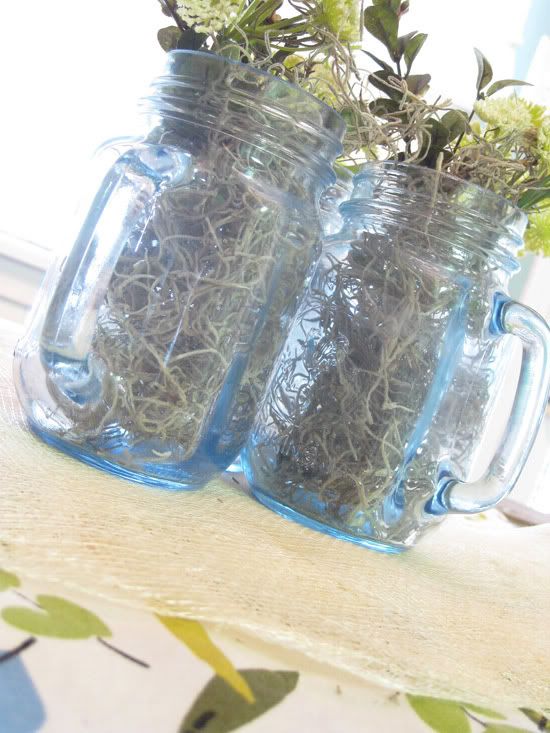
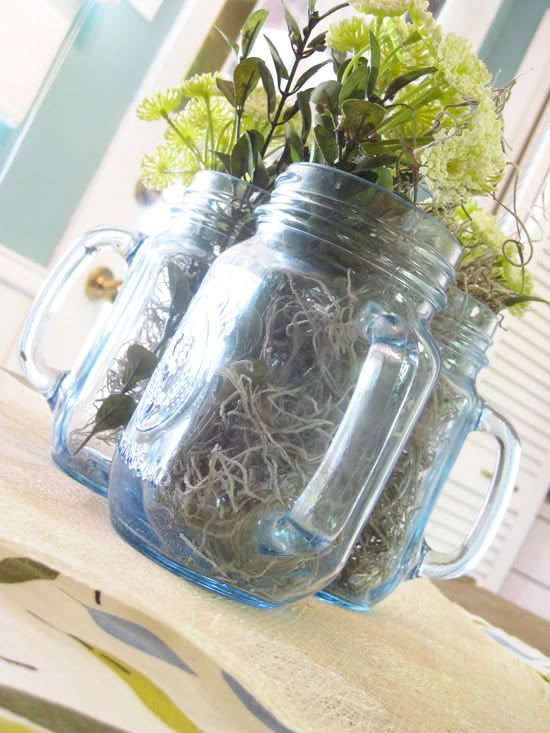
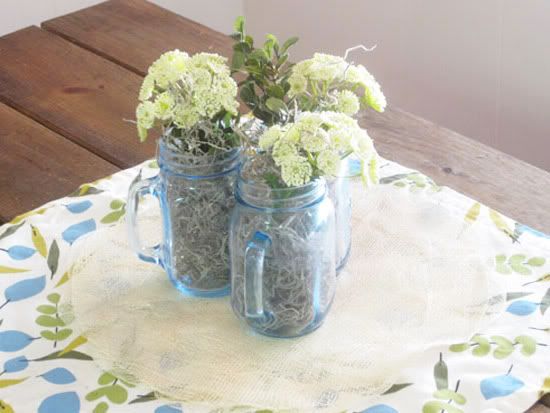
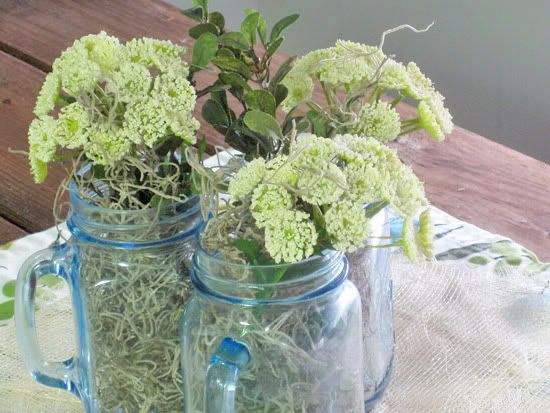
I found these pretty little blue glass mugs for $1 each at a thrift store down the street from my house & thought they'd be perfect for some cheeeery flowers!
"Country Fair Drinking Jar"... so preshhh. Now i want to go to a country fair!
Unfortunately though, I've noticed a trend about myself lately..I kill flowers. dangittt. I can't help it! I'm too forgetful, ugh. I'm hoping this is just a phase and I will learn how to keep them alive, but for now I am sticking to fabric flowers or fake flowers.
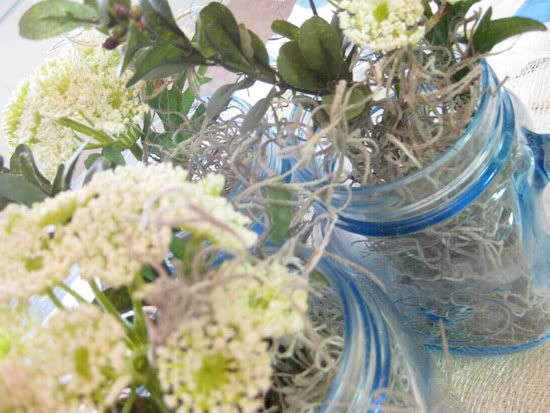
I really thought I hated fake flowers, and I know most people do... but I found some at JoAnn's the other day that I think look pretty! Especially compared to my dead flowers whose innocent lives I've taken in the next room.
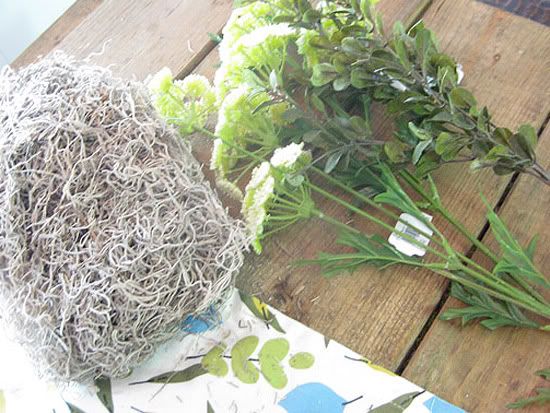
These flowers, combined with a tiny bit of greenery and some spanish moss make for a quick & easy floral arrangement centerpiece with a down-home country feeling. Makes me feel warm and fuzzy..
Have a wonderful weekend! Go to a country fair for me! :)
Labels:
Budget,
Crafty DIY,
Home Accents,
Inspiration
Wednesday, September 22, 2010
Our Home: Kitchen Cabinet Clothespins
Kitchen cabinet clothespins... love me some alliterations. Anywayyy...
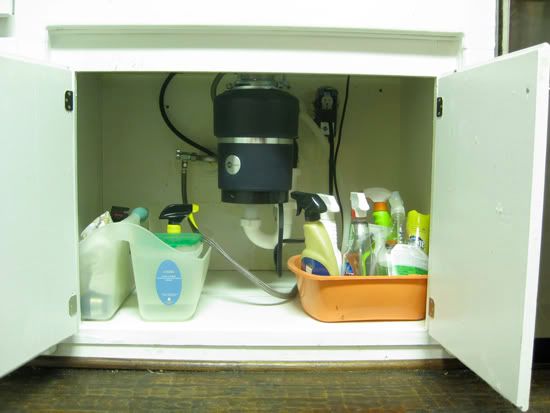
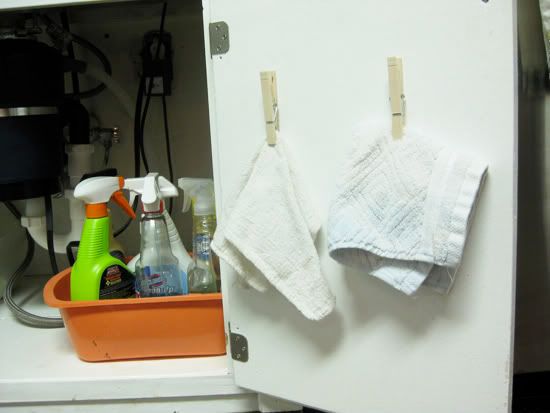
Lately I have feeling a little irritated by the cabinet underneath our kitchen sink... I mean, its not terrible (especially not in comparison to my previously awful bathroom cabinet)... just a little jumbled & in need of some organization.
You can't really tell, but that bucket on the left is full of "stuff"... rags, sponges, brush refills, etc. Annoying to find stuff in especially while doing an already not fun task like the dishes!
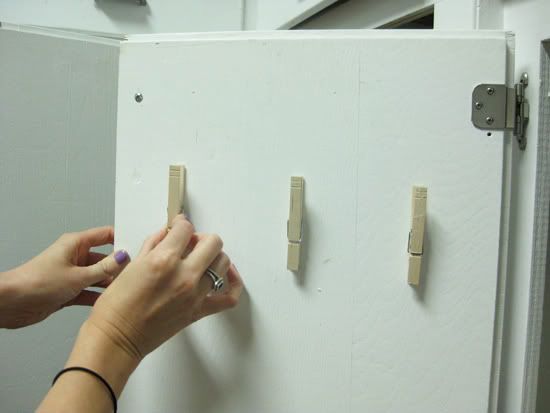
I have lots of clothespins around my office from my craft shows so I'm always trying to use them when I can... also they remind me of camp, so I love to use them.. hah I'm cool!
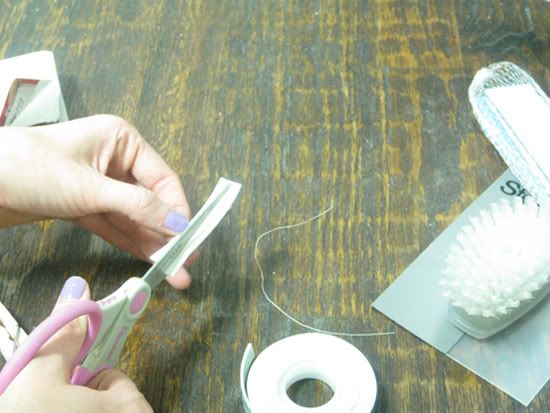
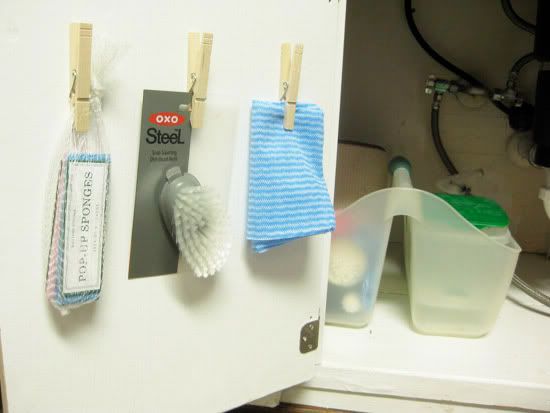
Anyway, I used mounting tape & cut each piece in half. I tried hot glue first, but it wasn't holding well enough. Mounting tape was perf.
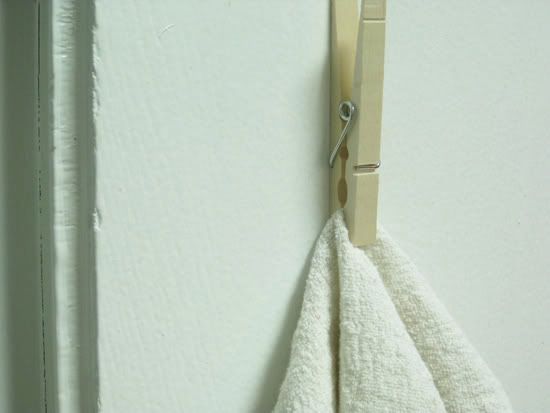
Easy access to some rags...woohoo!
All the dish cleaning supplies you need...hanging right where you can see them! Glorious.
Labels:
Crafty DIY,
Kitchen,
Organizing,
Our Home
Tuesday, September 21, 2010
Crafty DIY: Moss Covered Frame
Last week I did a post on creating moss covered letters and mentioned that I did another project with the leftover moss...waste-not, want-not people!
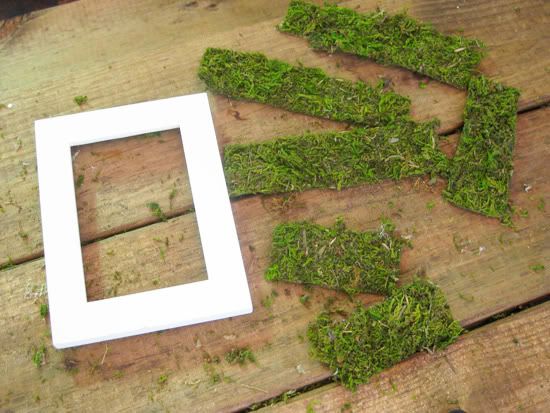
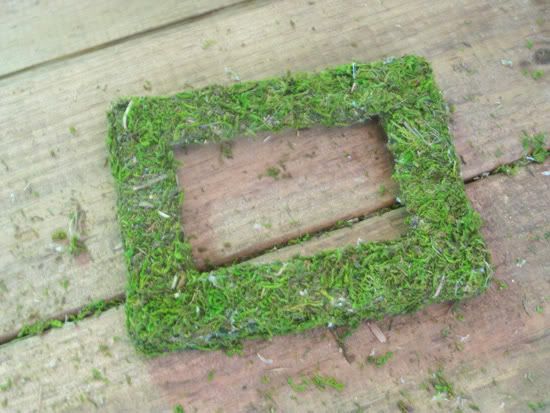
So this is what I had when I was done with my moss letters...
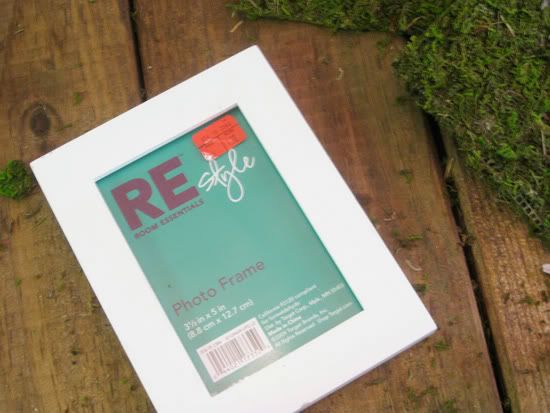
I knew I just couldn't throw away all that expensive moss ($8.99 for a sheet), so I found this old clearance frame in a closet & thought, heyyy this will be cute covered in moss!
First I cut the moss in strips after measuring the frame.
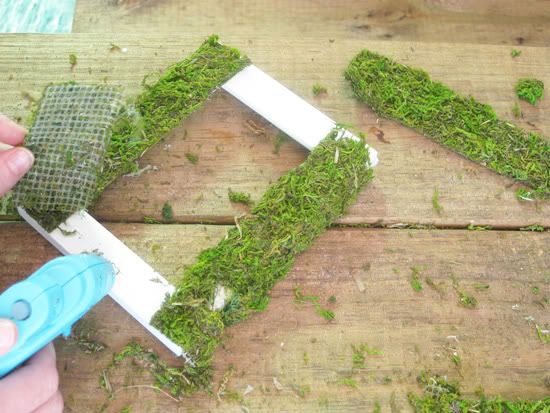
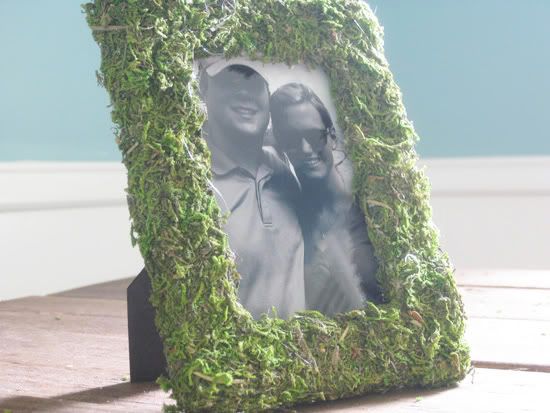
Then I just hot-glued the strips on & filled in any seamy or bare spots with the little moss pieces that had scattered themselves all over my table.
It literally took about 5 minutes. I think it would make such a cute gift!
I found a random honeymoon picture of Peter & me (I thought a black and white picture would go well with the moss) & just put it in the frame like normal!
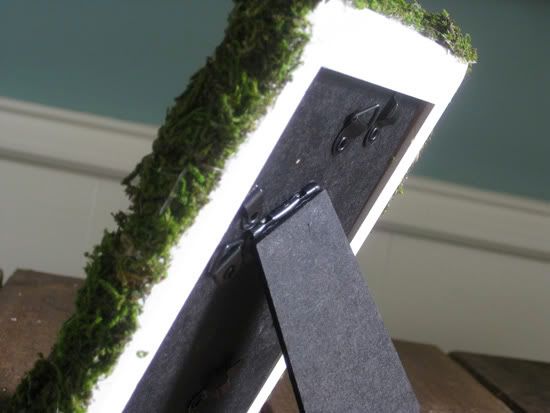
Again, I didn't cover the back because I knew where I was putting it would not expose the back of the frame...
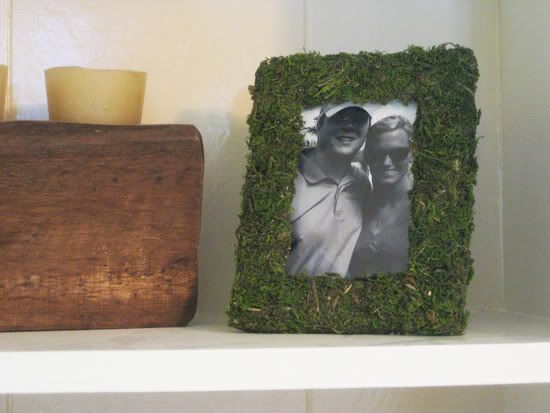
And here it is in its happy home on our built in shelves in the den. Cute!
Labels:
Budget,
Crafty DIY,
Home Accents,
Inspiration,
My Life,
Our Home
Monday, September 20, 2010
Lovin: Amy Butler Wallpaper
I'm kind of obsessed with wallpaper lately and really sad that I don't have any in my house! I have a million wallpaper pictures where these come from stored on my comp, but for now I thought I'd share a few from one of my favs... Amy Butler's wallpaper line for Graham & Brown.
So cute... I love the patterns and the bold colors!
Photo via Decor8
Photo via Waterwaif
Photo via Decor8
Photo via Corina Bermudez
Photo via Waterwaif
Photo via Svpply
Photo via Decor8
Photo via Waterwaif
Would you put Amy Butler's wallpaper in your casa? Have a different fav wallpaper designer?
So cute... I love the patterns and the bold colors!
Photo via Decor8
Photo via Waterwaif
Photo via Decor8
Photo via Corina Bermudez
Photo via Waterwaif
Photo via Svpply
Photo via Decor8
Photo via Waterwaif
Would you put Amy Butler's wallpaper in your casa? Have a different fav wallpaper designer?
Labels:
Home Accents,
Inspiration,
Interior Decor
Thursday, September 16, 2010
Etsy Throwdowns Thursday
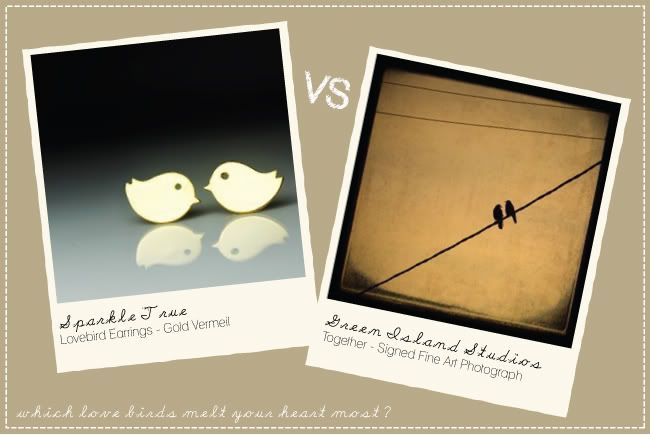
Which love birds melt your heart most?
Lovebird Earrings, Gold Vermeil - Sparkle True
Together, Signed Fine Art Photograph - Green Island Studios
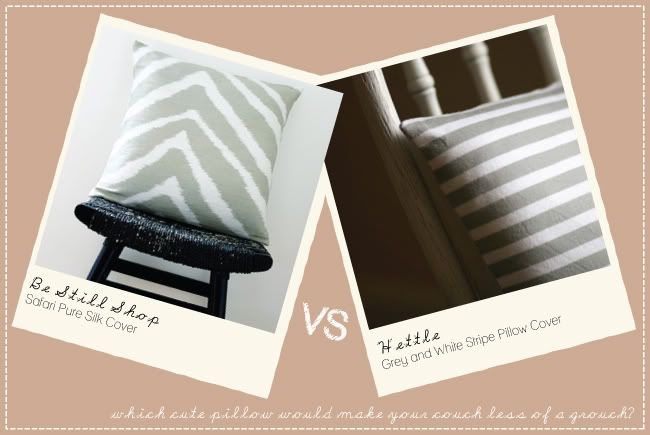
Which cute pillow would make your couch less of a grouch?
Safari Pure Silk Cover - Be Still Shop
Grey and White Stripe Pillow Cover - Hettle
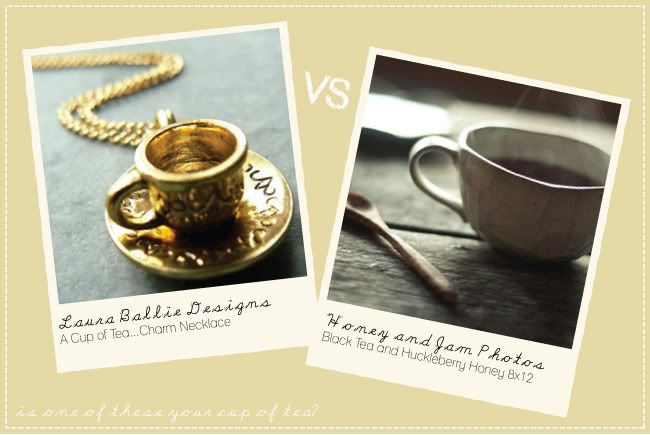
Is one of these your cup of tea?
A Cup of Tea...Charm Necklace - Laura Baillie Designs
Black Tea and Huckleberry Honey 8x12 - Honey and Jam Photos
Note: This is not a real competition... just a fun way to show-off awesome Etsy items!
All images are from their respective shops.
Labels:
Etsy,
Home Accents
Wednesday, September 15, 2010
Crafty DIY: Moss Covered Letters
At the Cowtown Indie Bazaar my mom purchased 2 really cute moss covered letters from Lil Anniebell's Soap Co. I loved them but also felt too cheap to spend $18 on them, so decided it was time I learned how to make them on my own! I read a few how-to's online (which were all kind of different) & just went for it, using what I felt were the best tips from each set of instructions.
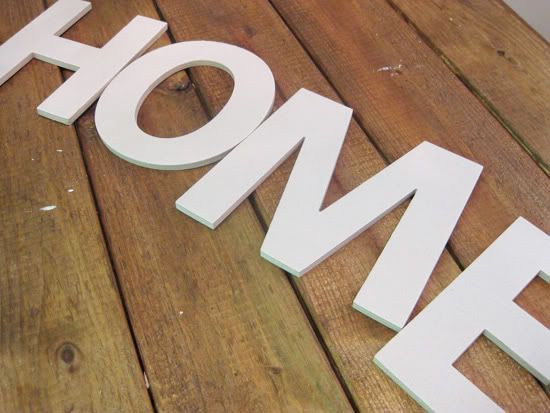
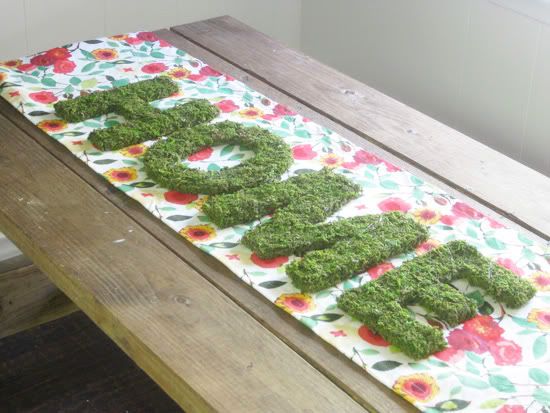
I had actually already purchased these letters at Hobby Lobby a couple weeks ago.. I saw them when I was there shopping for something else and they were on sale for like $1.50 each, so I just grabbed them. I have so many P's, E's, and B's that I thought HOME would be a cute way to mix things up a little. I had no clue what I would do with them at the time, but was quite thankful for them when the moss covered letters urge hit me!
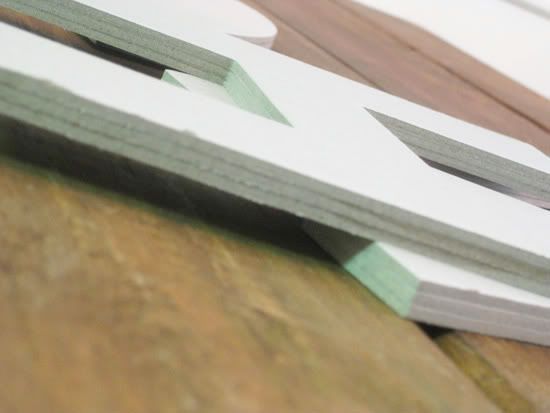
Only supplies you need: sheet moss (sheet moss is key! don't get regular moss), hot glue gun, scissors, & a letter or letters of some sort that are sturdy-ish - I read that some people cut their letters from cardboard and then cut styrofoam and attach it to make it thick or something.. ugh sounds too hard. Just buy some cheap letters people.
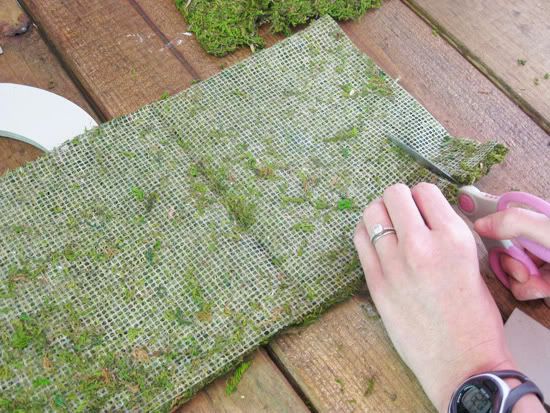
To cut the moss the right size, I would just hold the letter on top of the moss and sort of guage how much I needed & then cut straight up the grid... I learned and got better as I went, but it was really easy.
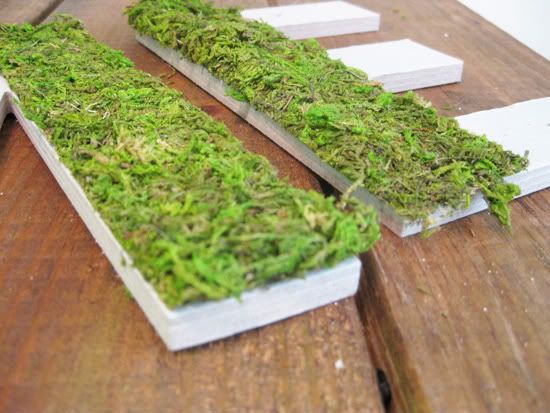
Then I just hot-glued the strips on. One thing I did figure out is that I should cut the strips wide enough to cover the side or sides as well. See below how I didn't cover the sides... so then I had to go back with thin strips later to cover the sides, when I could have just done that all in one piece. Make sense? I ended up doing that for the other sections of the letters later & it was much faster.
After I covered each and every side (except not the back because I knew I would have mine on a wall or against a wall, I used the little moss scraps that were all over my table to glue in places where you could see the seams or where the moss seemed a little thin. Super easy.
I only used one package of sheet moss & still had a ton left over! In my efforts to not be wasteful (especially on $8.99 sheet moss), I used the leftovers for another project, which I will write about soon!
This pic just shows how I didn't cover the back... why waste all that moss (and time!) if the backs of your letters aren't going to show anyway?
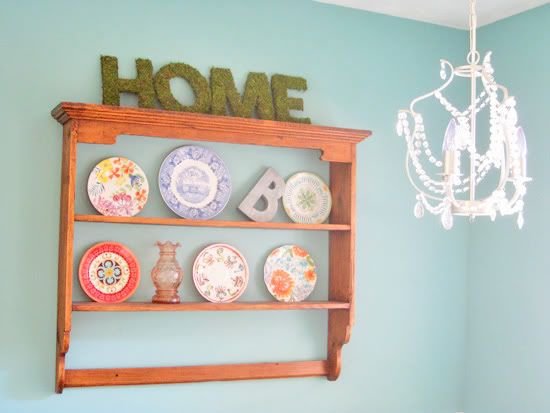
I put the letters here for now, but I don't think I'm going to leave them there... too much going on. I might put them above the doorway that you see when you walk in the front door. I'll take more pictures if/when I move them!
Hope you feel inspired to make some crafty moss letters!
I had actually already purchased these letters at Hobby Lobby a couple weeks ago.. I saw them when I was there shopping for something else and they were on sale for like $1.50 each, so I just grabbed them. I have so many P's, E's, and B's that I thought HOME would be a cute way to mix things up a little. I had no clue what I would do with them at the time, but was quite thankful for them when the moss covered letters urge hit me!
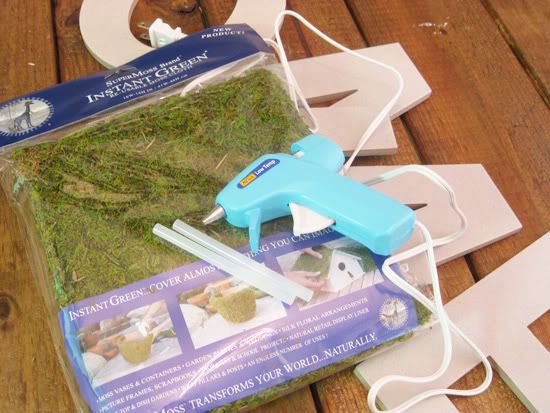
Only supplies you need: sheet moss (sheet moss is key! don't get regular moss), hot glue gun, scissors, & a letter or letters of some sort that are sturdy-ish - I read that some people cut their letters from cardboard and then cut styrofoam and attach it to make it thick or something.. ugh sounds too hard. Just buy some cheap letters people.
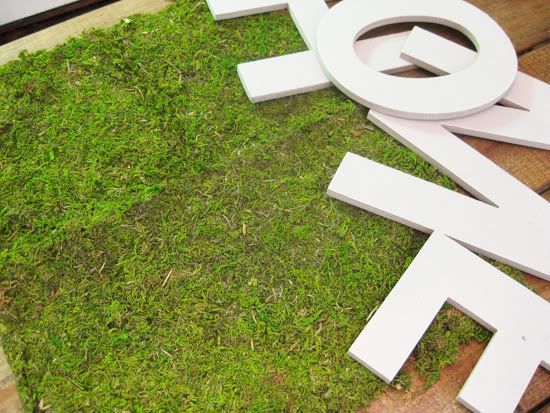
To cut the moss the right size, I would just hold the letter on top of the moss and sort of guage how much I needed & then cut straight up the grid... I learned and got better as I went, but it was really easy.
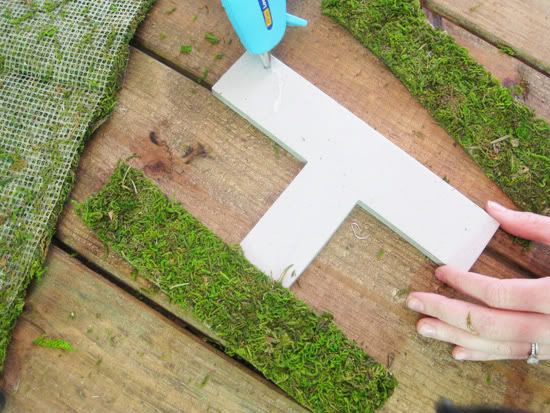
Then I just hot-glued the strips on. One thing I did figure out is that I should cut the strips wide enough to cover the side or sides as well. See below how I didn't cover the sides... so then I had to go back with thin strips later to cover the sides, when I could have just done that all in one piece. Make sense? I ended up doing that for the other sections of the letters later & it was much faster.
After I covered each and every side (except not the back because I knew I would have mine on a wall or against a wall, I used the little moss scraps that were all over my table to glue in places where you could see the seams or where the moss seemed a little thin. Super easy.
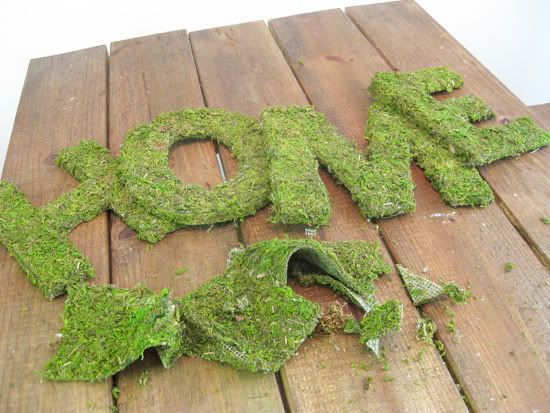
I only used one package of sheet moss & still had a ton left over! In my efforts to not be wasteful (especially on $8.99 sheet moss), I used the leftovers for another project, which I will write about soon!
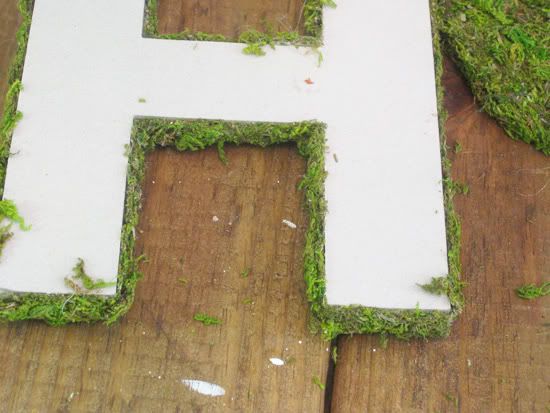
This pic just shows how I didn't cover the back... why waste all that moss (and time!) if the backs of your letters aren't going to show anyway?
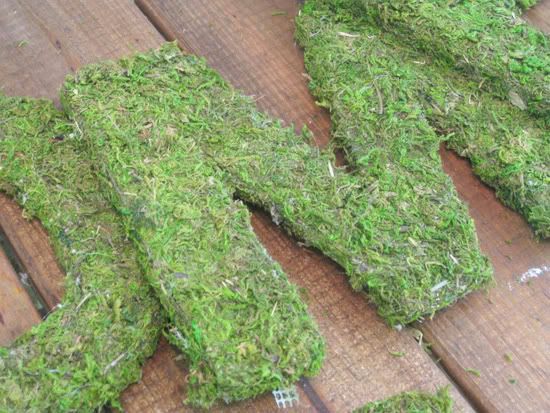
I put the letters here for now, but I don't think I'm going to leave them there... too much going on. I might put them above the doorway that you see when you walk in the front door. I'll take more pictures if/when I move them!
Hope you feel inspired to make some crafty moss letters!
Labels:
Budget,
Crafty DIY,
Home Accents,
Inspiration,
My Life,
Our Home
Subscribe to:
Posts (Atom)